This doc will step you through updating your Integrify Licence from Integrfiy Central after an update is made by Integrify Support. This would include any added user license additions, or optional plugin purchases.
- First follow the instructions to start the Integrify OnPremise Manager here: Running the Integrify OnPremise Manager
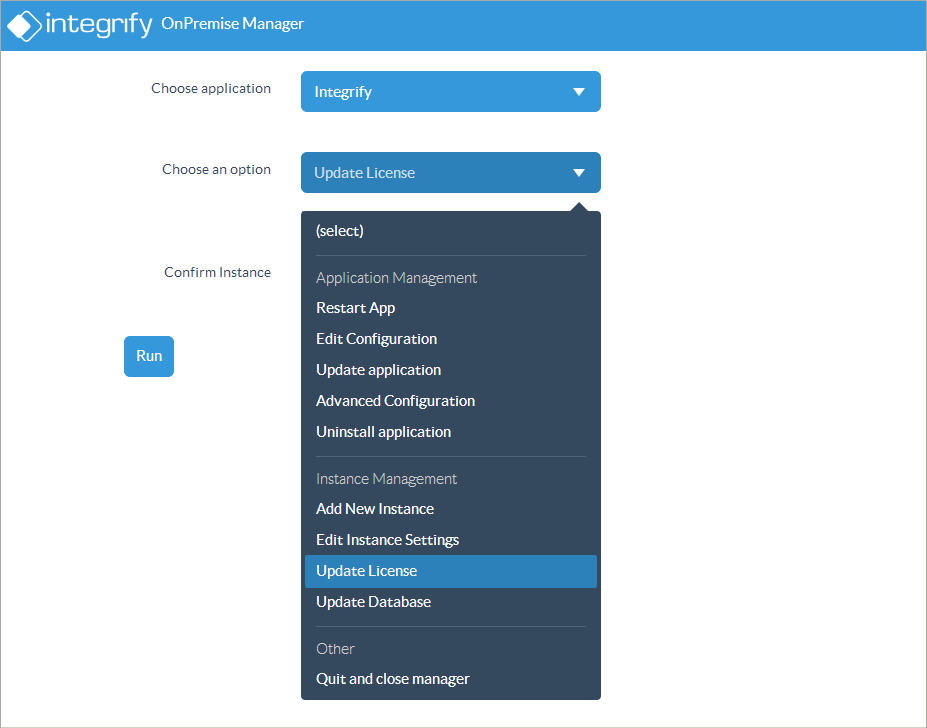
- Once you are logged into the application, select the application containing the license you wish to update in the 'Choose application' drop down. Select 'Update License in the 'Choose an option' dropdown.

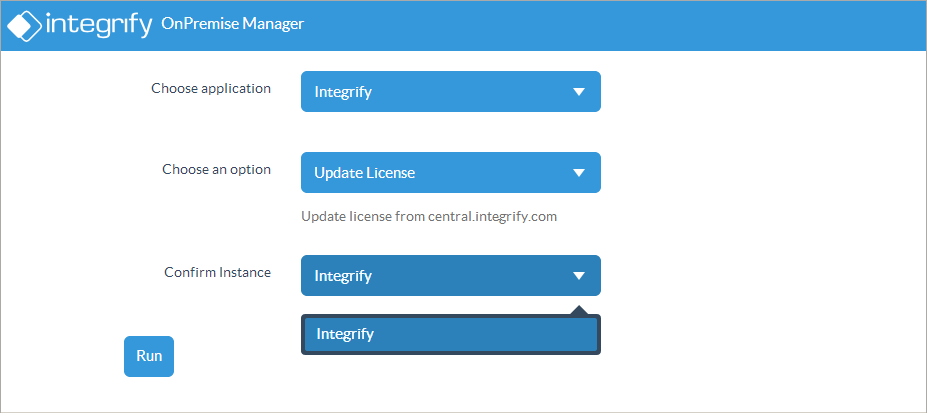
- Choose the Instance you are updating the license for in the 'Confirm Instance' drop down and click the 'Run' button to update the license from Integrify Central.

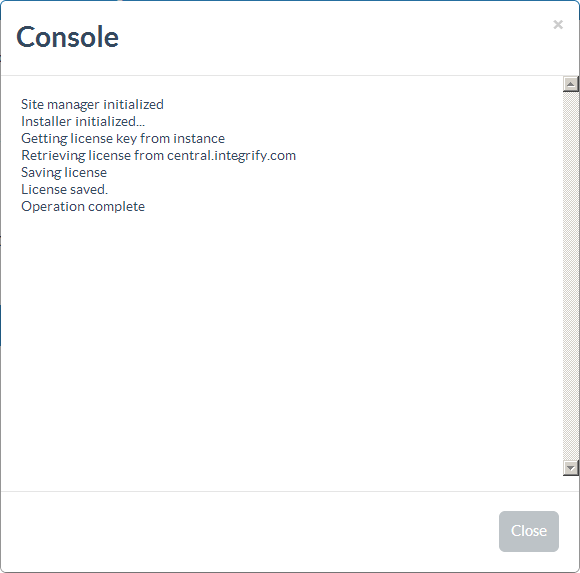
- You should see a dialog similar to the below. If any errors are reported, please contact the suport team by submitting a Help Request via support.integrify.com and attach a screen shot of the error message.

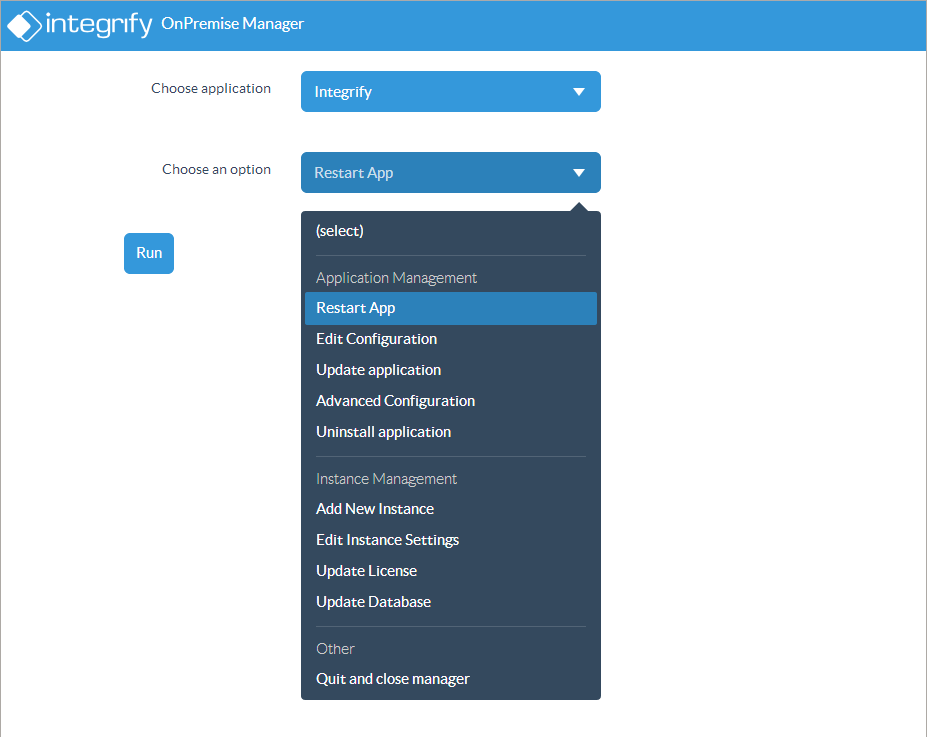
- If your license was successfully updated, you will need to restart your app for the license change to take effect. Select 'Restart App' from the 'Choose an option' drop down, and click 'Run' to restart the necessary application pools and windows services.

- You can now close your browser, or browser tab, and close the command line window. You application should be usable with the new license in place.
Last Updated on Monday, 23 June 2014 14:58
Comments