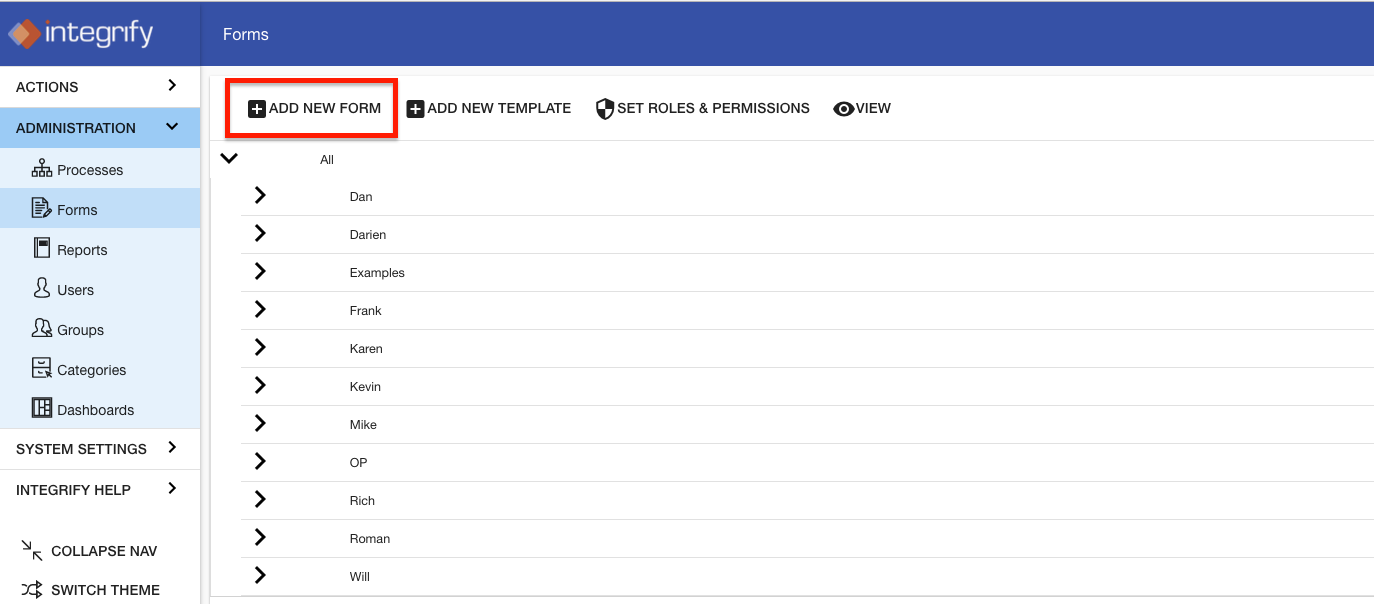
To add a new Form, select Forms --> Add New Form from the Administration menu:

You will be presented with a small dialog:

Before a form can be created, you will need to enter data into the following fields:
- Name (required): The name of the form.
- Category (required): The category which the form will be stored. This category can be different from category of a process that uses the form. A single form may be shared amongst multiple processes if desired.
- Description (optional): A brief description/purpose of the form. By default, this is added to the form layout but may be removed later.
Once information has been added, select Save. After a form has saved, a new tab containing your form detail definition will open in your Workspace:
The form definition tab contains three primary areas:
- Form Detail: basic information about the form such as name, category, description and render in frame.
- Question List: A list all questions created for the form. Allows the Form Designer to add/configure/remove questions from this area (See Creating Form Questions)
- Form Preview: Allows the Form Designer to preview the form, alter layout, and test basic form validation. (See Editing Form Layout).
On the Form Detail tab, any items highlighted in bold may be changed. If you would like to change the name of the form, just select the Edit pencil icon on the Name row in the grid and dialog will be displayed as such.
Change the name as desired and press Save.
If you would like to change the Category where the form is stored, select Edit for the Category row on the Form Detail page. Select the new Category from the list provided.
Note: Even if a form has been created and is associated with one (or many) processes that are currently running in Integrify, changing the Category does not impact how a process functions. It will simply change the location where the form is stored in the system.
The Render in Frame setting is for legacy customers who have upgraded their installation from 4.x to 5.x. It is provided for javascript backward compatibility on forms.
You can also choose to make a copy of a form by selecting Copy Form or delete a form by selecting Delete Form:
Comments