Assigning shared tabs to users or groups is accomplished through Integrify Roles. First, create a role at the Shared Tabs level by selecting the Set Permissions icon:
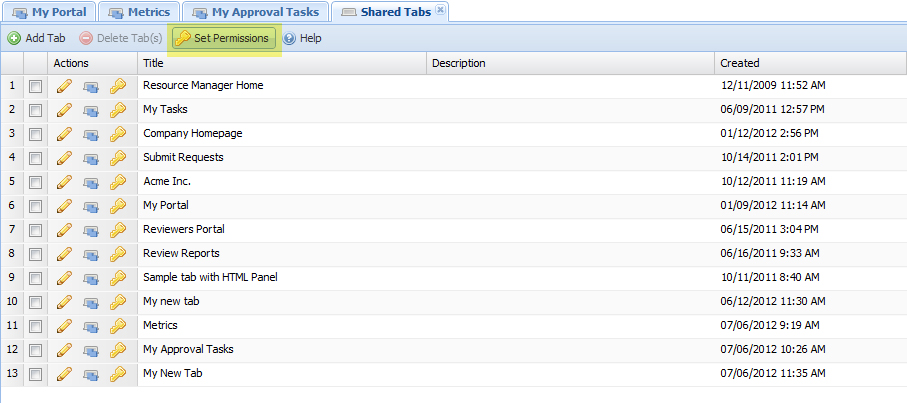
It is best practice to create a new general role for users that has the permission to run the tab. By creating this role at the Shared Tab level first, you can then use this role for any new shared tab that you create and assign members to this role for each specific shared tab.
Create a new role:
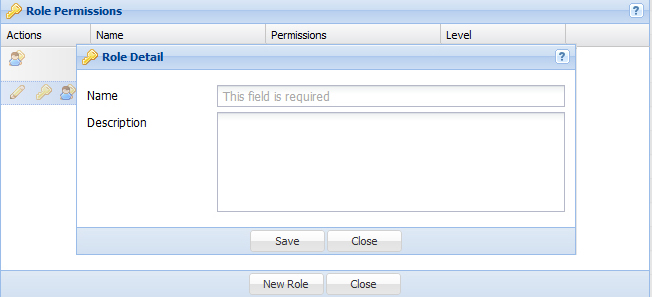
By way of example, we'll create a Shared Tab level role called ‘Tab Users’:
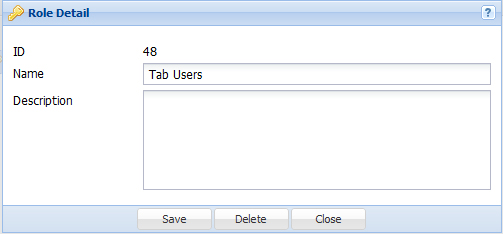
After we have saved our new role, we can then set the permissions to run the tab by selecting the Edit Permissions key icon:
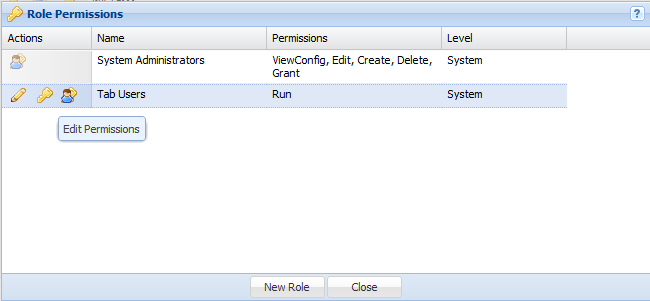
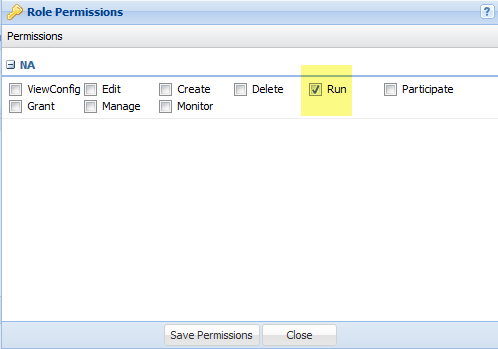
We can then select the 'Run' checkbox and then select 'Save Permissions':
We did not assign any members to this role at the Shared Tab level but we will be able to add members to this role for each shared tab. By doing this, we do not need to re-create the role for each shared tab. It will be available for each shared tab’s list of roles where I can then add members to it.
Select the shared tab from your list of shared tabs that you want to assign users or groups to by selecting the Manage Permissions/Assign to Roleskey icon:

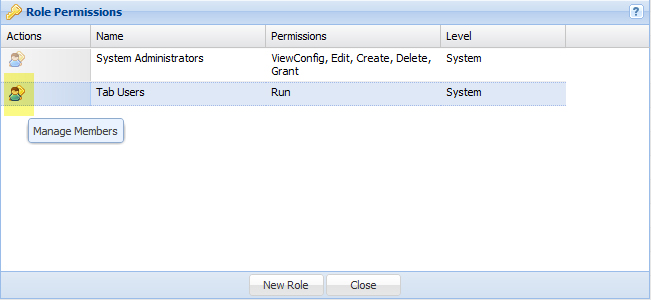
You will see the top Shared Tab level roles that were previously created. Select the Manage Members icon to add user or groups to the Shared Tab:
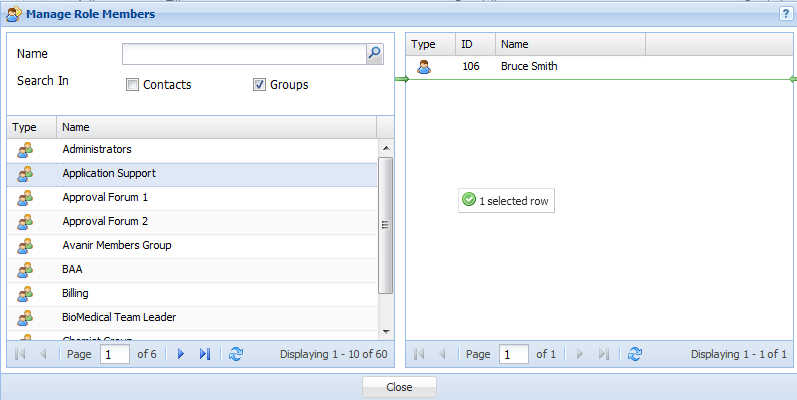
You can now drag users or groups to the right-side Role Members section. Here we are dragging and dropping the group 'Application Support' into the current role members section:
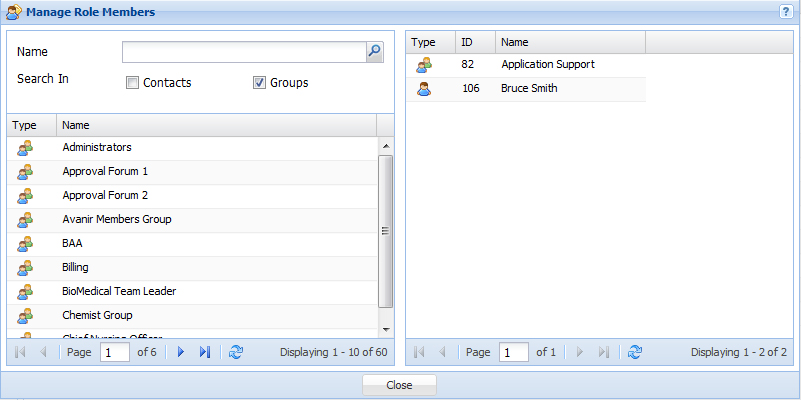
Close the Manage Role Members window and the Role Permissions window to save your member definitions.
Whichever group or user is assigned to this shared tab will now have access to it in their tabs when they log into Integrify.
Last Updated on Tuesday, 27 August 2013 23:40
Comments